
Drafting a Portuguese Tile Pattern - Next Steps
See the next step in my process of drafting a Portuguese tile pattern.
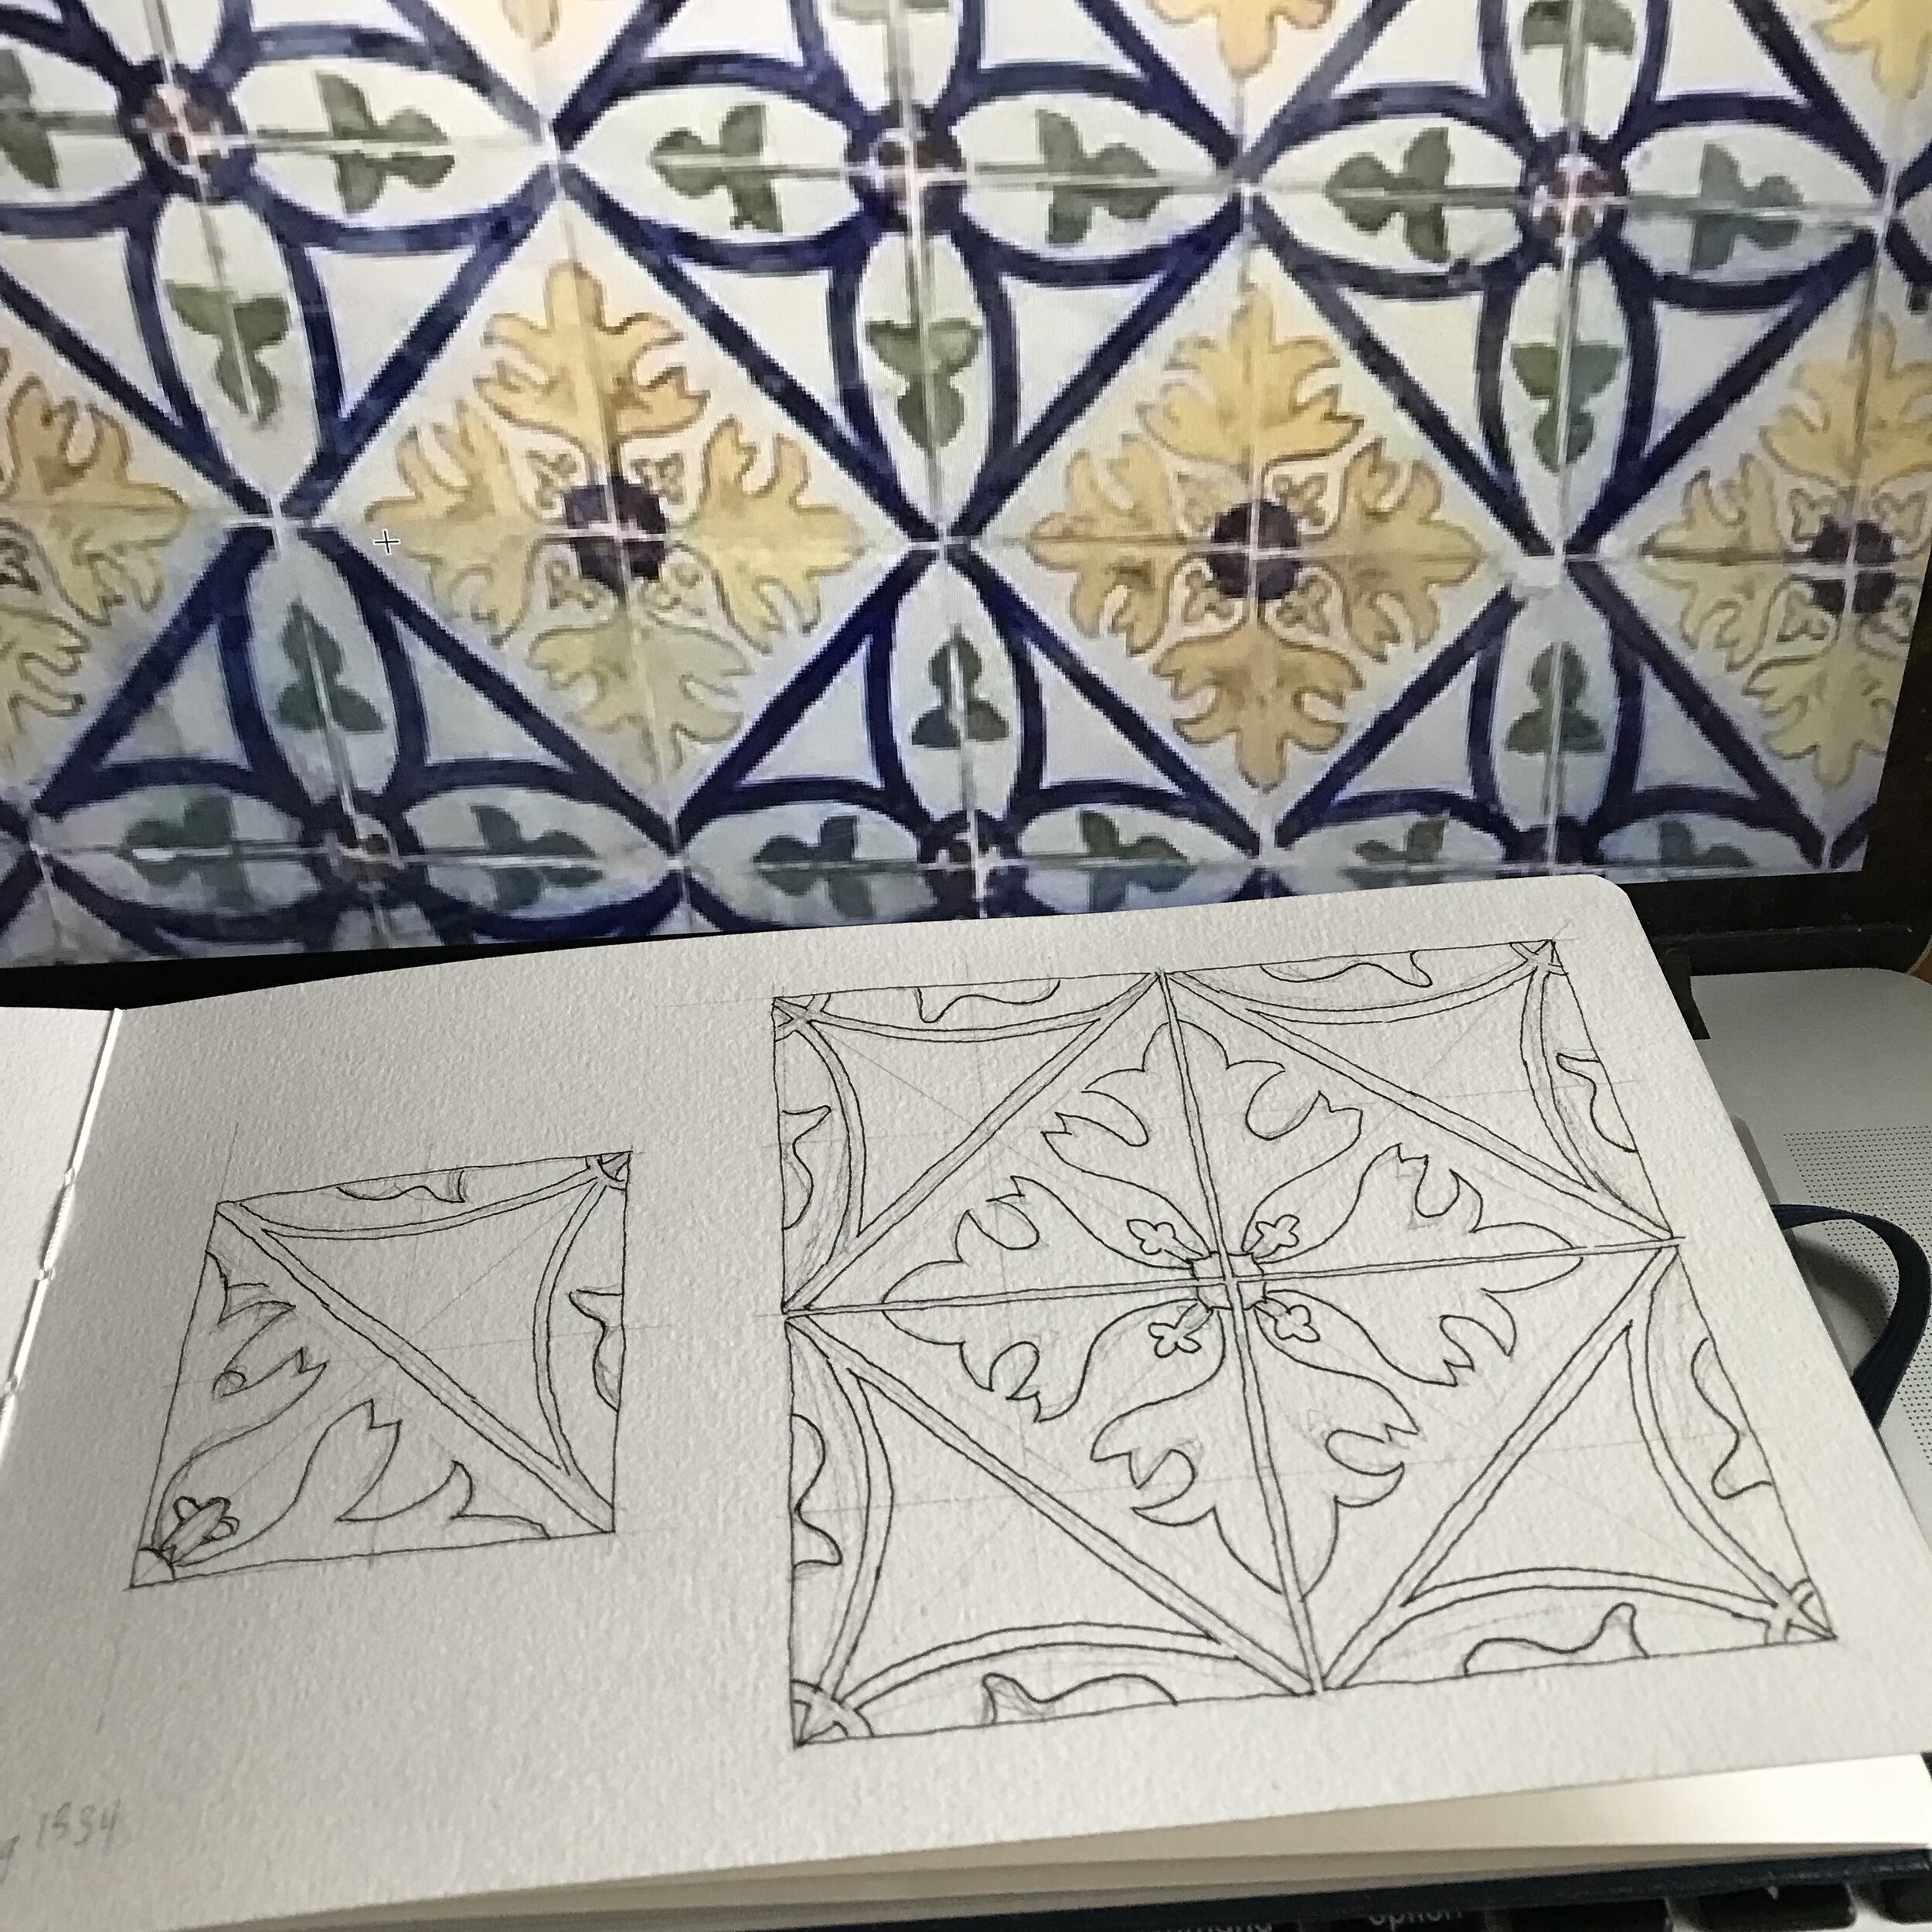
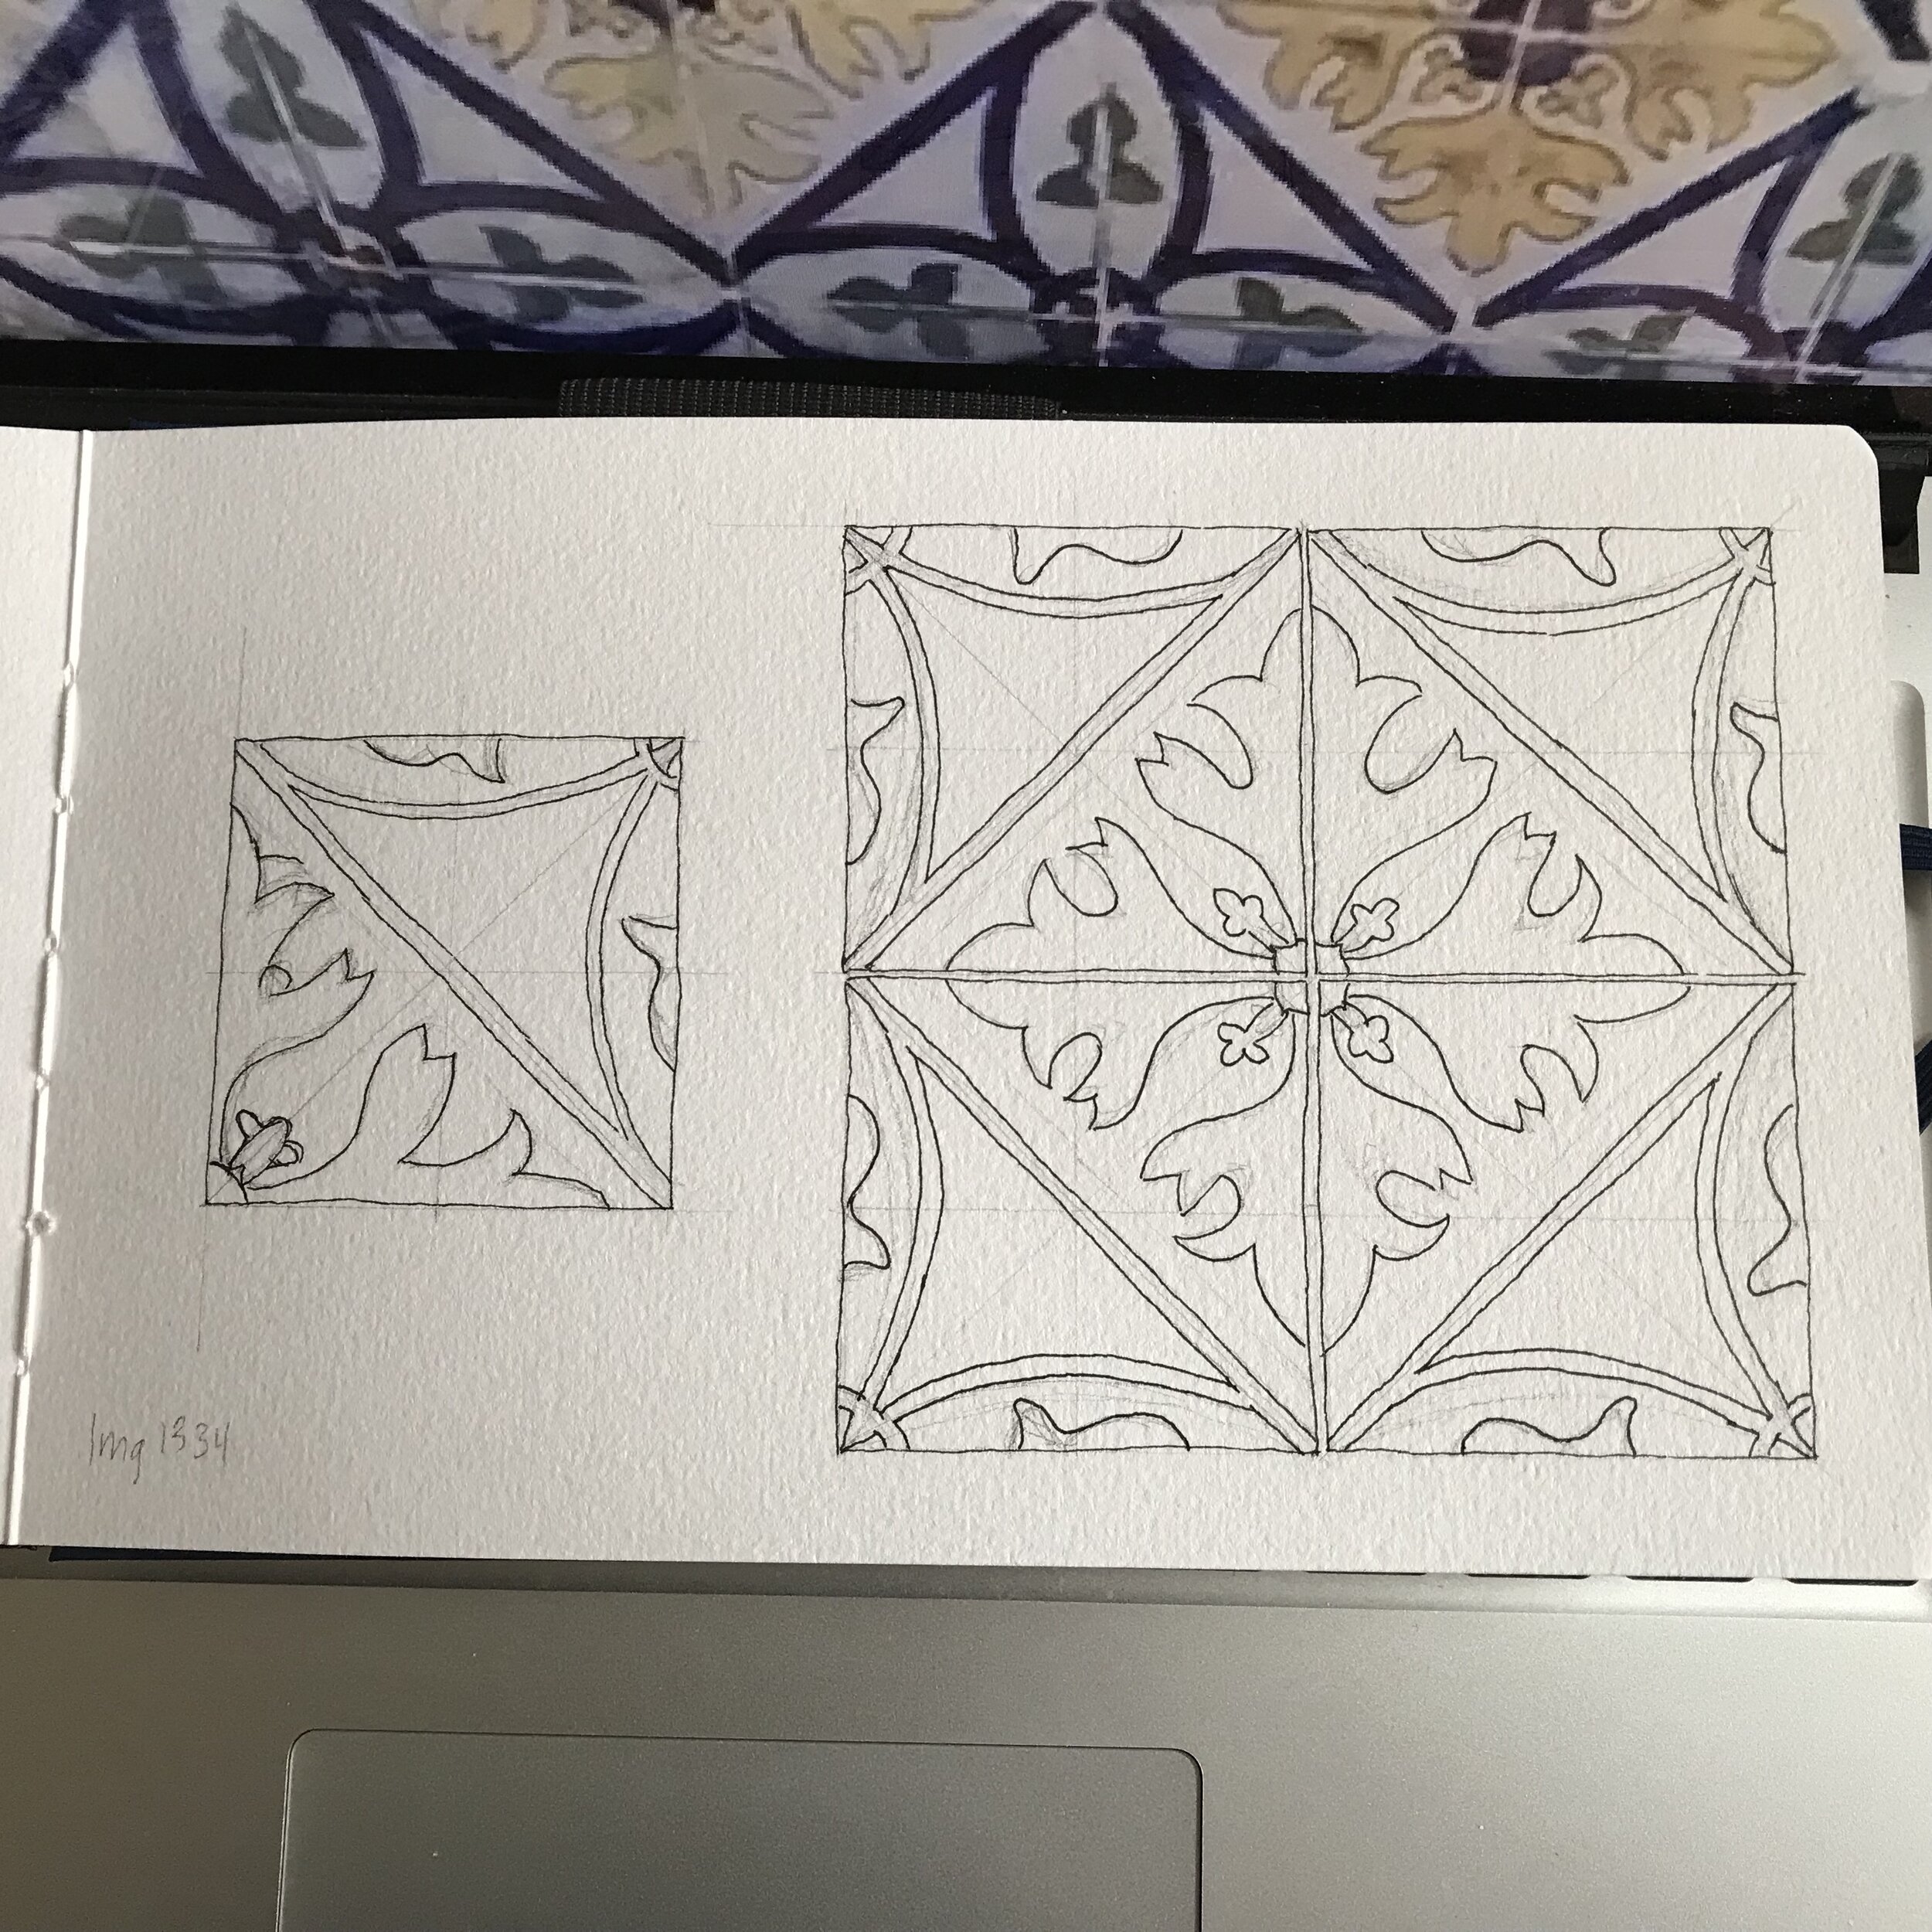
Here are some photos of the next stage in working on my Portuguese tile pattern. I’ve inked the four tile group but have left, for the moment, the pencil lines for you to see, both grid lines and approximate sketch lines that I adjusted in ink. I made some adjustments in the pattern between the inking of the solo block and the group of four. I saw different details as I looked over the wall of repeating tiles in my reference photograph. My next steps are to erase the pencil lines, scan the pattern, then paint.
How I Start Drafting a Portuguese Tile Pattern

The first step in drafting a Portuguese tile pattern in my sketchbook
It’s been a while since I’ve worked a Portuguese tile pattern. This is how I start. I find a tile from a picture I took, then try to figure out what the pattern is. I pencil in horizontal, vertical and diagonal grid lines so I can keep things proportionate. I draw it first in pencil just the one tile, and if it looks good then start on the four tile repeat, ink, then paint. I still love all the variation and different kinds of patterns made with just one small tile!